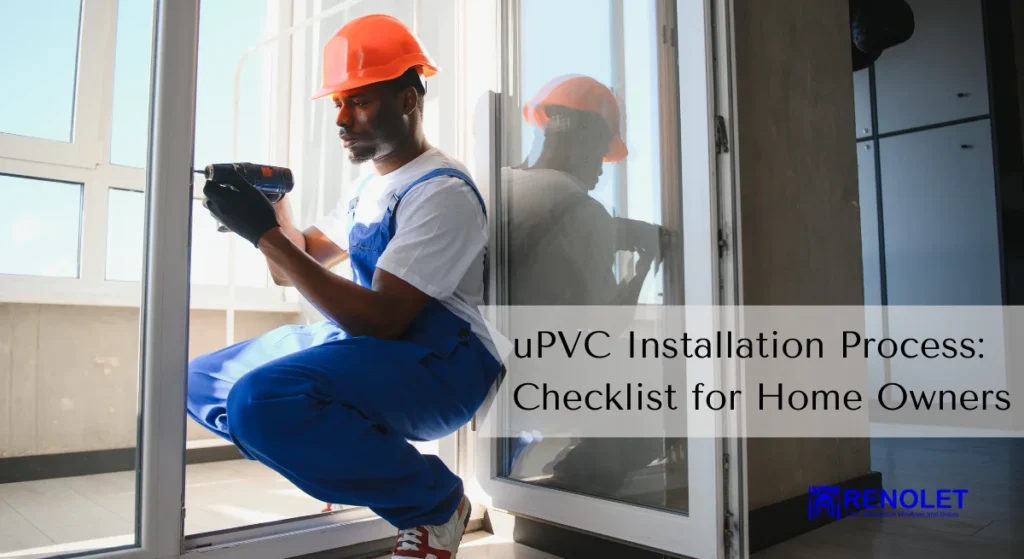
No wonder uPVC is the most popular choice among the home owners because of their durability, cost-effectiveness and low-maintenance. But these qualities aren’t enough to make it function effectively if the uPVC installation process for homes is not done right!
Be it the top quality material, or weather-resistant or popular brand that you chose from, installation is a very important metric which decides the performance of the uPVC window and doors. Some of the common issues include air leaks, water seepage, uneven frame setting, or wrong measurement. Many homeowners choosing uPVC also opt for sliding systems in apartments, especially where space efficiency and ease of operation matter. This is commonly seen with uPVC sliding doors in Bangalore apartments.
This guide will help you understand common uPVC installation mistakes in homes that result in uPVC window and doors failures. This checklist will give you a fair idea about what a “good installation” looks like.
Pre-Installation Checklist - What Homeowners Should Know?
Confirm The Schedule & Drawing
- Take the window or door measurement, direction, mesh, grills & glass type beforehand.
- Measure sill height, handle height, & safety needs for keeping in mind kids, the elderly, or pets.
- Get a written installation plan with an estimated timeline.
Why it matters: Correct surveying & openeing verification are very important factors for uPVC installation standards. Even small measurement errors can cause “adjustment on site” resulting in improper installation, increasing gaps, distortion & weak fixing. Product quality plays a key role in how well frames hold alignment during installation, which is why homeowners often compare uPVC window brands available in Bangalore before finalizing their order.
Check The Opening Condition
- Check if the wall edges are sound, like no crumbling plaster.
- Identify the cracks or seepage patches & fix them before uPVC installation.
- It is better to have access for drilling & sealing.
Homeowner tip: If there is water seepage or a damp wall, it will badly affect the uPVC installation, as water will find a path.
Delivery-day Checks: Materials & Quality
Verify What’s Delivered
- Check the number of frames, shutters & mesh panels
- Type & thickness of glass that was quoted
- Check for hinges, locks, friction stays & handles
- Correct number of frames/shutters + mesh panels
- Glass thickness/type as quoted
- Hardware: hinges, locks, friction stays, handles
- Sealants/tapes/membranes specified in the quote
Inspect Frames Before Installation
- Look for warping, scratches, corner joint gaps, or damaged gaskets.
- Ensure protective film is intact (but confirm when they plan to remove it).
Inference from guidelines: Many installation guides highlight that frames must not be forced into openings or fixed under stress—because distortion affects operation and sealing.

The Core Upvc Installation Process For Homes (Step-by-step)
Step 1: Dry-fit The Frame And Confirm Clearances (Expansion Gap Allowance)
- The frame should sit centrally with even clearance around all sides.
- There must be a planned expansion gap so the frame can accommodate temperature movement. Some installation guides explicitly mention minimum installation clearances and thermal expansion considerations.
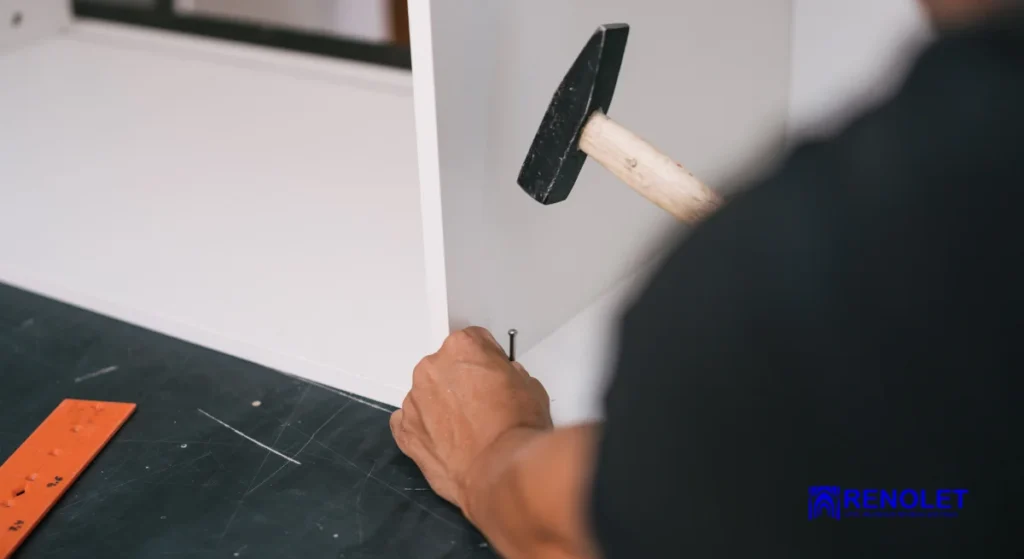
What you should see: Installers using packers and shims to maintain consistent gaps—never “hammering” the frame into place.
Step 2: Set The Frame True (Plumb Level Square)
This is the biggest quality checkpoint.
Ask them to confirm:
- Frame is plumb (vertical)
- Level (horizontal)
- Square (diagonals equal)
Why this is non-negotiable: Multiple installation references stress that products must be installed plumb, level, and square to operate correctly—otherwise shutters bind, locks misalign, and gaskets don’t seal evenly.
Step 3: Fixing And Anchoring (Anchor Fasteners For Windows)
- Fixing points should be placed with correct edge distances and spacing.
- Many installer guides recommend keeping fixings away from corners (e.g., roughly ~150 mm from corners) and spacing fixings at regular intervals to prevent frame distortion.
Homeowner red flags:
- Too few screws/anchors
- Fixings placed extremely close to corners
- Frame bending when screws are tightened (means no proper packers behind)
Inference: Industry guides repeatedly warn that screws/anchors should not impose force that twists the frame—packers must carry the load at fixing points.
Step 4: Water Management (Sill Pan Flashing + Waterproofing Membrane)
If your home faces heavy rain/wind-driven rain, water detailing is critical.
Good practice standards for window installations emphasize flashing (especially at sills) to manage water and reduce leakage risks. ASTM E2112, for example, is built around preventing recurring installation failures that cause leakage and building envelope damage.
What to ask for (where applicable):
- Sill pan flashing or an equivalent sill waterproofing detail
- Waterproofing membrane continuity around edges (depending on wall type)
- Proper outward slope at sill area (no “flat water trap”)
Step 5: Sealing The Perimeter (Sealant And Backer Rod / Foam Sealant Application)
This is where most installations either become excellent—or fail within a monsoon.
Best-practice sealing looks like:
- Correct gap maintained first (with shims/packers)
- Backer rod inserted for the right sealant depth
- Sealant tooled smoothly with no voids
- In some systems, weatherproofing tape or expanding foam tapes are used as part of airtightness/watertightness detailing.
Why backer rod matters: It helps control sealant depth and improves joint performance instead of filling a deep gap with sealant (which often cracks or detaches over time). Many installation instructions explicitly include backer rod + sealant at all sides.
Step 6: Shutter Installation + Hardware Alignment (Window Frame Alignment)
- Shutters should open/close smoothly with consistent gasket compression.
- Locks should engage without forcing.
- Friction stays should hold position properly (no sudden drop).
- Mesh tracks should glide without scraping.
If the frame isn’t square, installers may “adjust hardware,” but that’s a patch—not a fix. The real fix is frame alignment earlier.
Post-installation Inspection (Your Acceptance Checklist)
Do these tests before you sign off
- Paper test: close the shutter on a paper strip—consistent resistance around edges indicates good gasket sealing.
- Water test (controlled): gentle water spray on exterior to check leakage points (don’t use high pressure).
- Lock test: lock/unlock 10 times—should feel smooth.
- Noise/air leak check: stand near edges on a windy day or use incense smoke carefully to detect drafts.
Check drainage (weep holes drainage)
- Ensure weep holes (if part of the system) aren’t blocked by sealant, dust, or plaster.
Verify there’s no “sealed shut” drainage path.
Handover Essentials (Don’t Skip This)
- Written window installation warranty (product + installation)
- Care instructions: cleaning uPVC, gasket care, hardware lubrication schedule
- Photos of critical steps (especially sill/edge waterproofing) if possible
- Invoice with exact specs: glass type, hardware brand, mesh type
Common Mistakes Homeowners Should Watch For
- No shims/packers at fixing points → frame bends over time
- Over-foaming the gap → can distort frames if not controlled
- Skipping sill water detailing in wet climates → leakage risk
- Rushing sealant (no backer rod, poor tooling) → cracks and air leaks
Final Takeaway
A good uPVC installation process for homes is not just “fit frame + apply foam.” It’s a sequence: prepare the opening, set the frame plumb/level/square, shim correctly, anchor without distortion, manage water with proper detailing, and seal the perimeter professionally. If you use the checklist above and insist on these visible quality markers, you’ll get the comfort, sound reduction, and weather performance you’re paying for—without post-installation headaches.

Pingback: uPVC Window Cost Factors in Bangalore: Price per Sq Ft Guide
Pingback: uPVC Ventilation Windows vs Traditional Ventilators: Renolet
Pingback: uPVC Soundproof Windows Bangalore | Reduce Noise by Up to 50 dB